Seedance 2.5 Beginner's Guide: What I Wish I Knew Before My First Video
Getting Started
I remember my first Seedance 2.5 generation vividly — I typed a vague prompt like "cool video of a car" and got back something that looked like a melted toy car driving through a puddle of pixels. That was six months and several hundred generations ago. Since then, I've learned what works, what doesn't, and what settings make an immediate difference in your results. This guide is the resource I wish I'd had on day one.
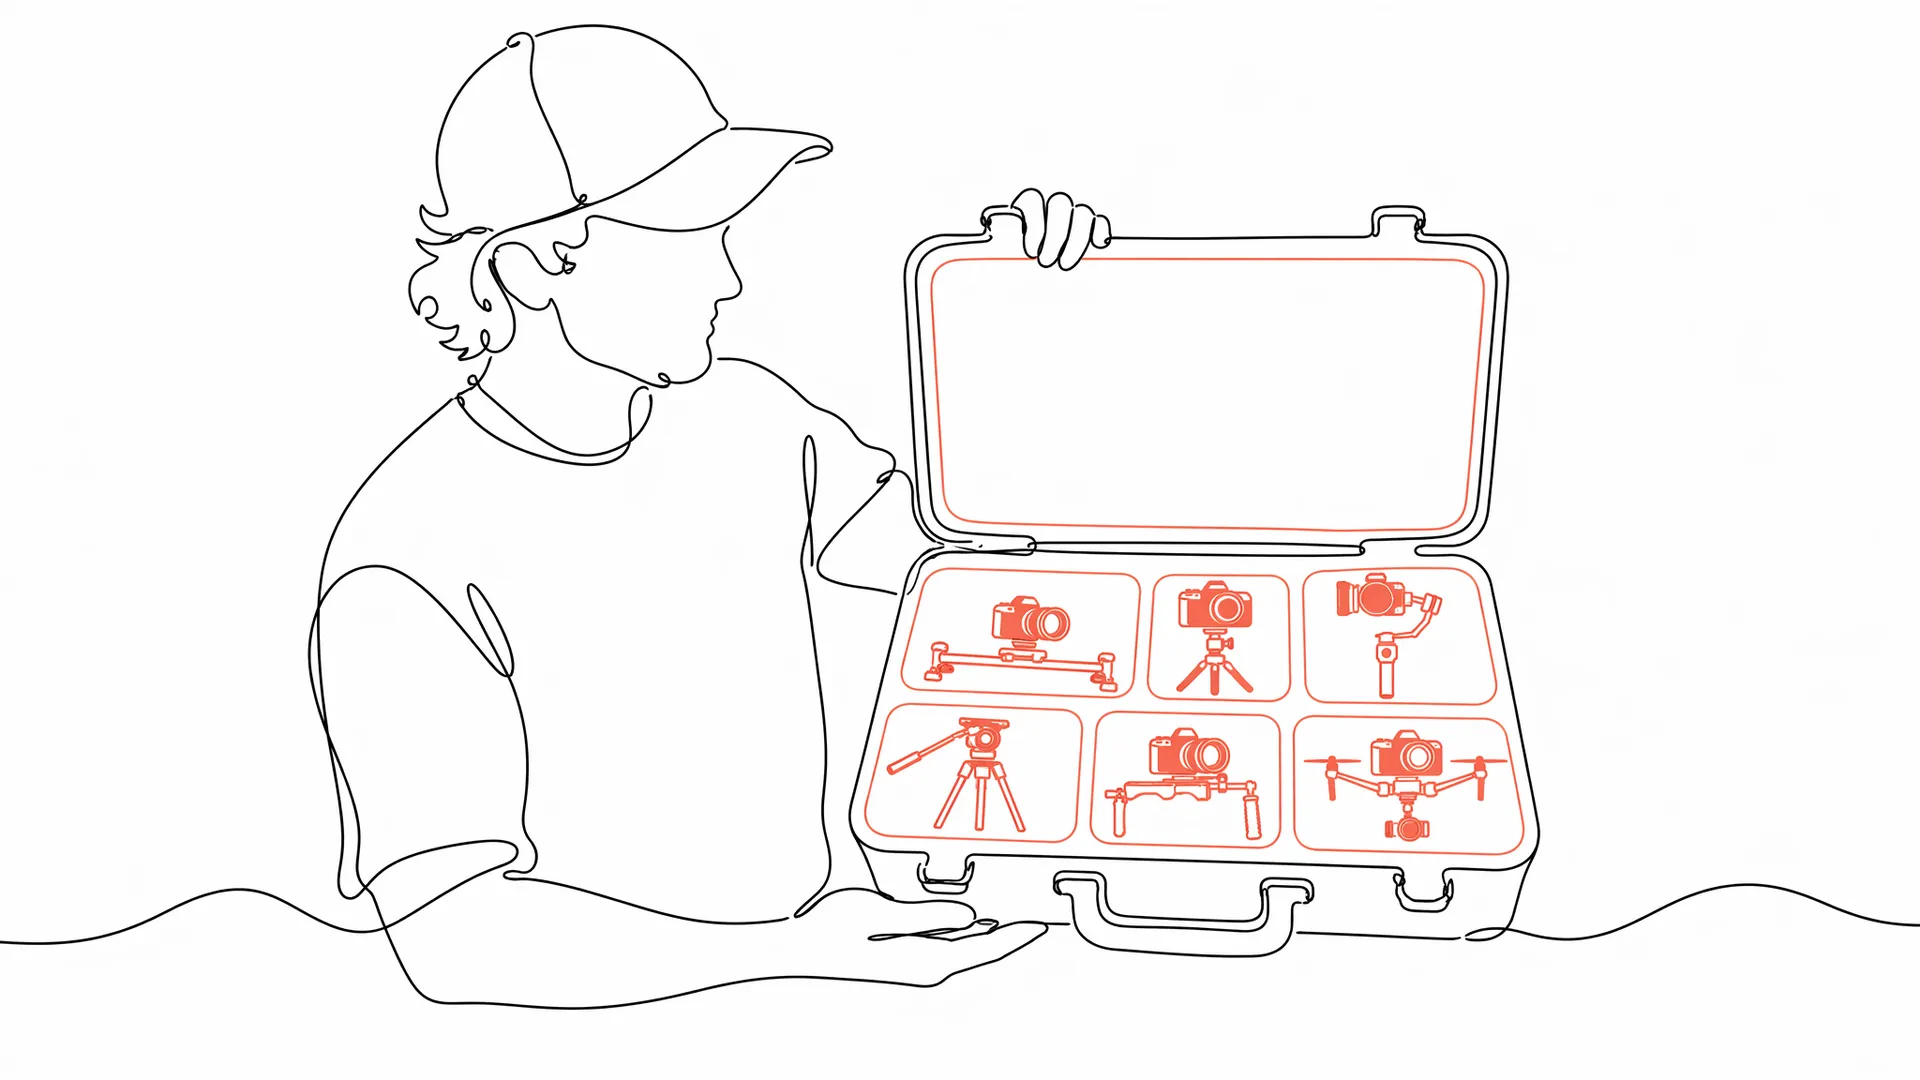
First, the basics. Seedance 2.5 offers four generation modes: text-to-video (describe what you want in words), image-to-video (upload an image and add motion), reference-to-video (upload a reference image for consistent subject identity), and the new local editing mode (select a specific region of the video and modify just that area — change clothing, swap backgrounds, adjust props — without regenerating the entire clip). For beginners, start with text-to-video — it's the most intuitive and teaches you how the model interprets your instructions.
Your account comes with free daily credits. Use them wisely. Each generation costs credits based on duration (5s, 10s, 15s, or the new 30s option) and resolution (720p, 1080p, native 4K). As a beginner, generate at 5 seconds and 720p while you're learning. This stretches your credits and lets you iterate faster. You can always regenerate at higher settings once you've found a prompt that works. For more on optimizing your credit usage, check our [30-second video review](/blog/seedance-2-30-second-video) where I analyze the quality trade-offs.
Writing Your First Prompt
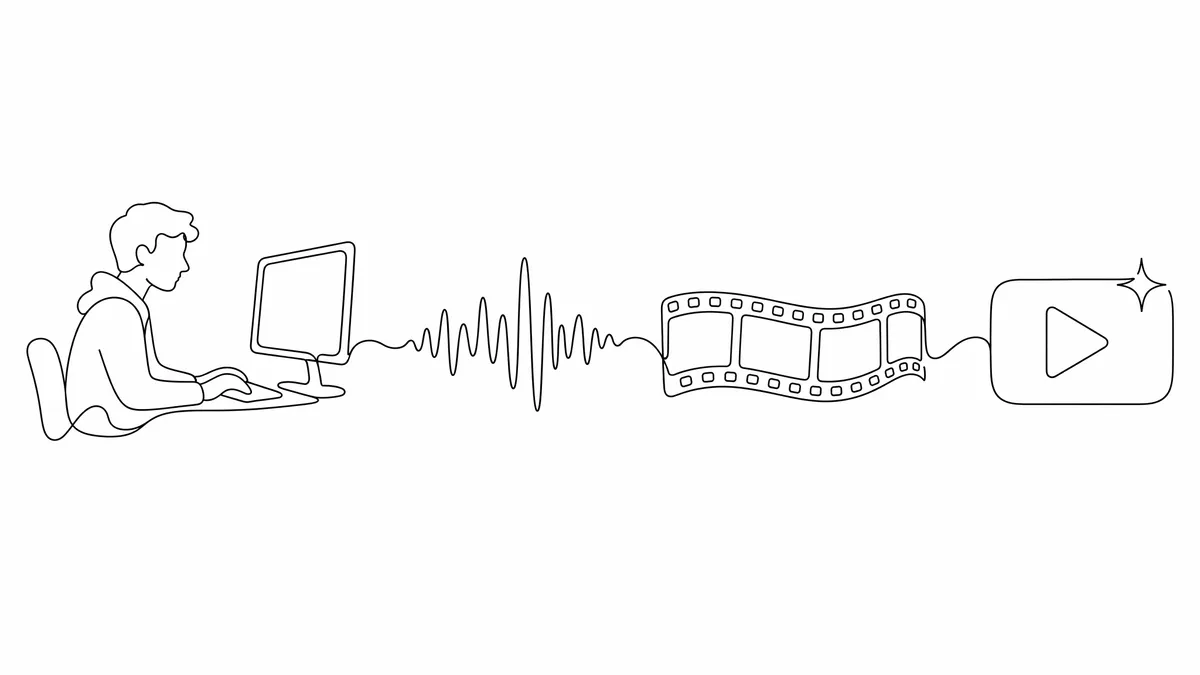
The single biggest factor in getting good results from Seedance 2.5 is prompt quality. Vague prompts produce vague videos. Specific prompts produce specific videos. Here's the structure I recommend for beginners: Subject + Action + Setting + Camera + Mood/Lighting.
Bad prompt: "a dog running" — this gives the model almost nothing to work with. What kind of dog? Running where? What camera angle? What mood?
Good prompt: "a golden retriever running across a beach at sunset, low angle tracking shot, warm golden lighting, slow motion" — now the model knows exactly what to generate. Every element narrows the model's creative choices toward what you actually want.
Don't worry about perfect grammar or formal language. Seedance understands natural descriptions. Write like you're describing a scene to a friend who's never seen it. "A cozy coffee shop interior with steam rising from a latte on a wooden table, soft afternoon light coming through the window, gentle dolly-in camera movement" works beautifully. For advanced prompt techniques, our [prompt engineering guide](/blog/seedance-prompt-engineering) covers 12 specific tricks that dramatically improve results.
Essential Settings
Beyond the prompt, three settings make the biggest immediate difference in your results. First: aspect ratio. Seedance supports 16:9 (widescreen), 9:16 (vertical/mobile), 1:1 (square), and 4:3 (traditional). Choose based on where your video will be used — 9:16 for TikTok/Reels/Shorts, 16:9 for YouTube, 1:1 for Instagram feed posts.
Second: generation duration. Start with 5 seconds. The model produces higher quality for shorter durations, and 5 seconds is enough to evaluate whether your prompt is working. Only move to 10, 15, or the new 30-second option when you've confirmed your prompt generates good content. The 30-second duration is a game-changer for narrative content — I covered the detailed quality differences in my [30-second video review](/blog/seedance-2-30-second-video).
Third: audio toggle. Seedance generates audio automatically. For your first generations, I recommend keeping audio ON so you can evaluate the full experience. If the audio is distracting or doesn't match what you want, you can always mute it and add your own soundtrack later. The audio sync feature is genuinely impressive for environmental sounds — rain, wind, city ambience — but less reliable for dialogue or music. More details in our [audio sync guide](/blog/seedance-audio-sync-guide).
Common Beginner Mistakes
Mistake #1: Overloading prompts with too many elements. "A dragon fighting a robot while a superhero watches from a building as a meteor falls in the background" — that's too much. The model can't handle that many simultaneous elements well. Start with one subject and one action, then add complexity as you learn what works.
Mistake #2: Ignoring camera instructions. The default camera behavior is a gentle, somewhat random movement. Adding even basic camera instructions ("static camera" or "slow pan right") dramatically improves composition. Don't skip this — it's the difference between amateur-looking and professional-looking output. Our [camera movements guide](/blog/seedance-camera-movements) maps every available option.
Mistake #3: Giving up after 3 bad generations. Here's the reality: even experienced users get 30-40% failure rate on complex prompts. AI video generation involves inherent randomness. When a prompt doesn't work, try small modifications rather than scrapping it entirely. Change one element at a time — adjust the camera angle, modify the lighting description, simplify the action. Usually, the second or third attempt is dramatically better than the first.
Mistake #4: Not using reference images. If you have a specific subject (a product, a character design, a specific location), uploading a reference image produces far more consistent results than trying to describe it in text alone. Seedance 2.5 now supports up to 50 reference images simultaneously — you can upload multiple angles, style references, and character sheets for incredibly consistent results. The reference-to-video feature is one of Seedance's most powerful tools — learn to use it early.

Where to Go Next
Once you're comfortable with basic text-to-video generation, here's the learning path I recommend: First, master camera controls — they're the single most impactful skill for improving your video quality. Read our [camera movements guide](/blog/seedance-camera-movements) for the complete reference.
Second, learn prompt engineering — the tricks in our [prompt engineering guide](/blog/seedance-prompt-engineering) will transform your results, especially the new @reference system that lets you tag specific elements in your prompt. Third, experiment with audio sync — our [audio sync guide](/blog/seedance-audio-sync-guide) shows you how to get the best sound results.
Fourth, try reference-to-video — upload images and see how the model translates them into motion. With up to 50 reference inputs, you can build entire character libraries and style collections. Fifth, explore comparisons to understand what Seedance does better than alternatives — start with our [complete 2026 video AI ranking](/blog/best-video-ai-2026).
Frequently Asked Questions
Do I need technical knowledge to use Seedance 2.5?
No. The basic interface is straightforward. You type what you want and click generate. Advanced features like local editing and the @reference system are optional.
How many free generations do I get?
The free tier gives approximately 15 generations per day (enough for ~30 seconds of video at standard settings), which resets every 24 hours.
What's the best resolution to start with?
Start with 720p to learn the tool. Switch to 1080p only when you're confident in your prompts, as 1080p costs more credits.
How long until I get good results?
Most beginners start getting consistently good results within 10-20 generations. The learning curve is manageable.
Our Top Pick
Seedance 2.5
9.2/10ByteDance's flagship video generation model — 30-second native video, 50 multimodal references, and up to 4K output. The best overall quality we've tested.
- 30-second continuous video
- 4K resolution output
- 50 multimodal references
- Audio-visual sync
- Character consistency
- Motion brush control
Get Weekly AI Video Tips
Join 500+ creators getting the latest AI video tool reviews, tutorials, and exclusive tips every Friday.
No spam. Unsubscribe anytime. We respect your privacy.